
Install Transmission With Docker Compose
Transmission is a very lightweight and simple to use torrent client. It support a lot of great features and works on many many systems. All that is great, but the real reason why I love Transmission as much as I do, is because of it’s great web interface. It’s really fast, works on all modern browsers and operating systems and you don’t even need to install the client on every computer!
I personally run Transmission on my NAS and download all the files to it. This way, I have it accessible on all devices in my network. In this guide I want to show you my setup and how I installed Transmission using Docker Compose.
I assume you already have Docker installed on your system and have your download folders set up. I’m using version 3.7 of the Docker Compose file here, so you need a fairly up-to-date version of the Docker engine. You check the currently installed version with the following command:
$ docker --versionDocker version 20.10.3, build b35e731Transmission needs a place to store it’s configuration files, torrents and off course the data. I have a folder just for Docker containers, where they can store their configurations. This makes it easy to copy and setup on another server if needed.
Make a folder where you store these configuration files. I choose to store them on a volume I had made previously. Let’s open up the terminal and enter the following:
$ mkdir -p /volume1/docker/config/TransmissionAs you can see, I have a root folder docker, with in it a config folder with another folder Transmission in it. If another container pops up, I make sure to make another folder in /volume1/docker/config with the name of the container I’m running.
We also need a place to store the downloads. I choose a general folder on my volume: /volume1/download, but you can choose to split it up into multiple folders if you like.
We now have a environment for Transmission to work with: let’s make the Docker compose file!
The base of this installation revolves around a docker compose file. This is a file which describes the service that needs to be run: it’s a kind of blueprint.
Make a docker-compose.yml file on a place where you can easily find it. Personally I use a git repository for this, so I can easily clone it on another server if needed, but it does not need to be in a specific place. You can also download the file from the Selfhosted Heaven Github page.
When you have made the Docker Compose file, copy and paste the following code into the file:
|
|
You need to change the above template with the correct variables. Let’s walk through them:
There are a few things you need to change in the above file. First, you need to know your PUID and PGID. Docker runs containers as root, but that is not exactly what we want from a userspace application. The PUID and PGID map your own user and group id to that of the Docker containers so it does not make new folders as the root user (which would make them inaccessible for you, the user).
You can easily find the PUID and PGID from the current user using the following command:
$ id $user
uid=1024(admin) gid=100(users) groups=100(users),101(administrators),65537(docker)
Set the PUID to the uid (1024 in this example) and the PGID to the gid (here it is 100).
Next up: you need to set the Timezone. For the above example this is Europe/London, but you need to set it to your current timezone. You can find the complete list of supported TZ timezones on Wikipedia.
These are the folders that the Transmission container has full read and write access to. It needs at least a link to the config folder. The structure of the volumes are /path/to/local/machine:/folder/in/the/container. The first part is on your local filesystem, the second part is how you can access it from within Transmission. In the above example I have /download available as a folder in Transmission, which I use to download to. You could add another one, for example for Linux ISO’s:
- /volume1/linux:/linux.
Whatever you add: make sure you understand what it means and where the files will be!
One port is needed to access the Web GUI: that is 9091. In the example I have port 51413 open to the outside world. You need to open both UDP and TCP ports, that’s why you see them two times. It does not really matter what port number you enter here, but it is important to open up this port in your router and firewalls as well. Because there are a ton of different ways on how this is done, I will not go into detail in how you must do that, but you can check in the transmission settings if you have set it up correctly.
You can check if you have correctly opened the port later in the Transmission configuration. We will get to that in a bit.
We can now give our new configuration a go. In your terminal, go to the folder where your docker compose file is located and run the following command:
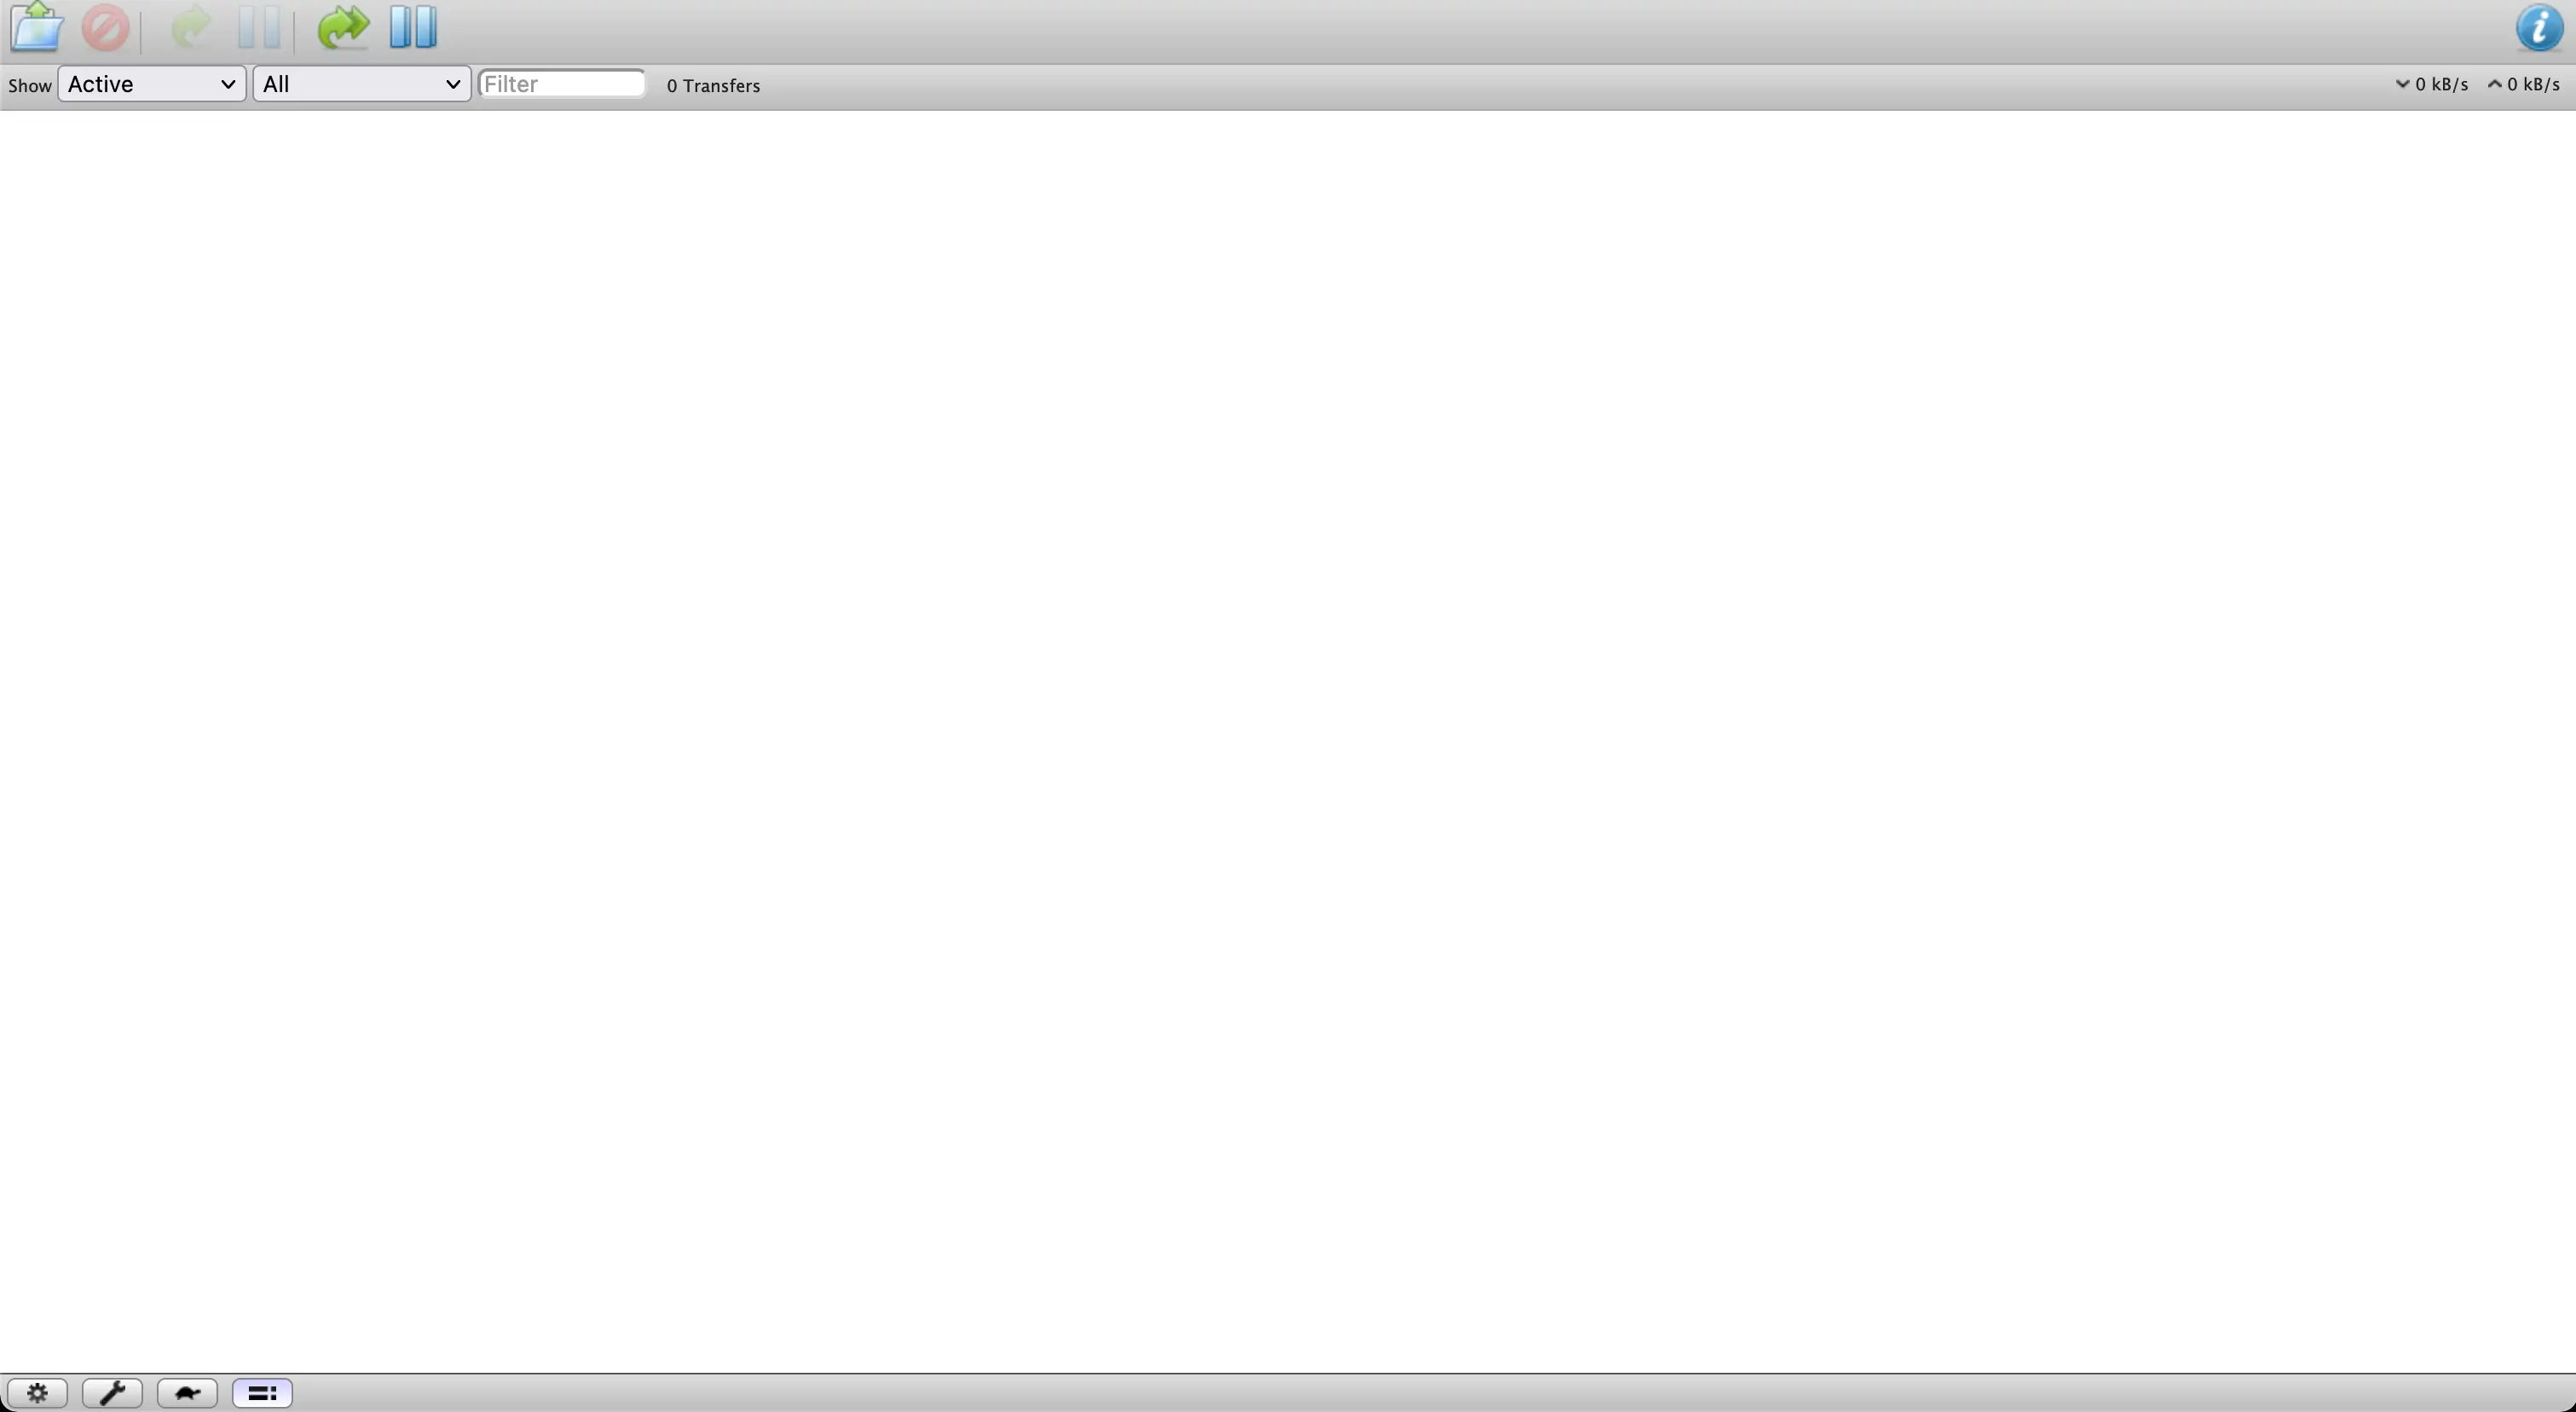
$ docker-compose upLet it start up and then go to your browser and go to the following address: 127.0.0.1:9091. If you have installed this on another machine, you can replace 127.0.0.1 with the ip address of that computer. You should now see the Transmission web GUI!
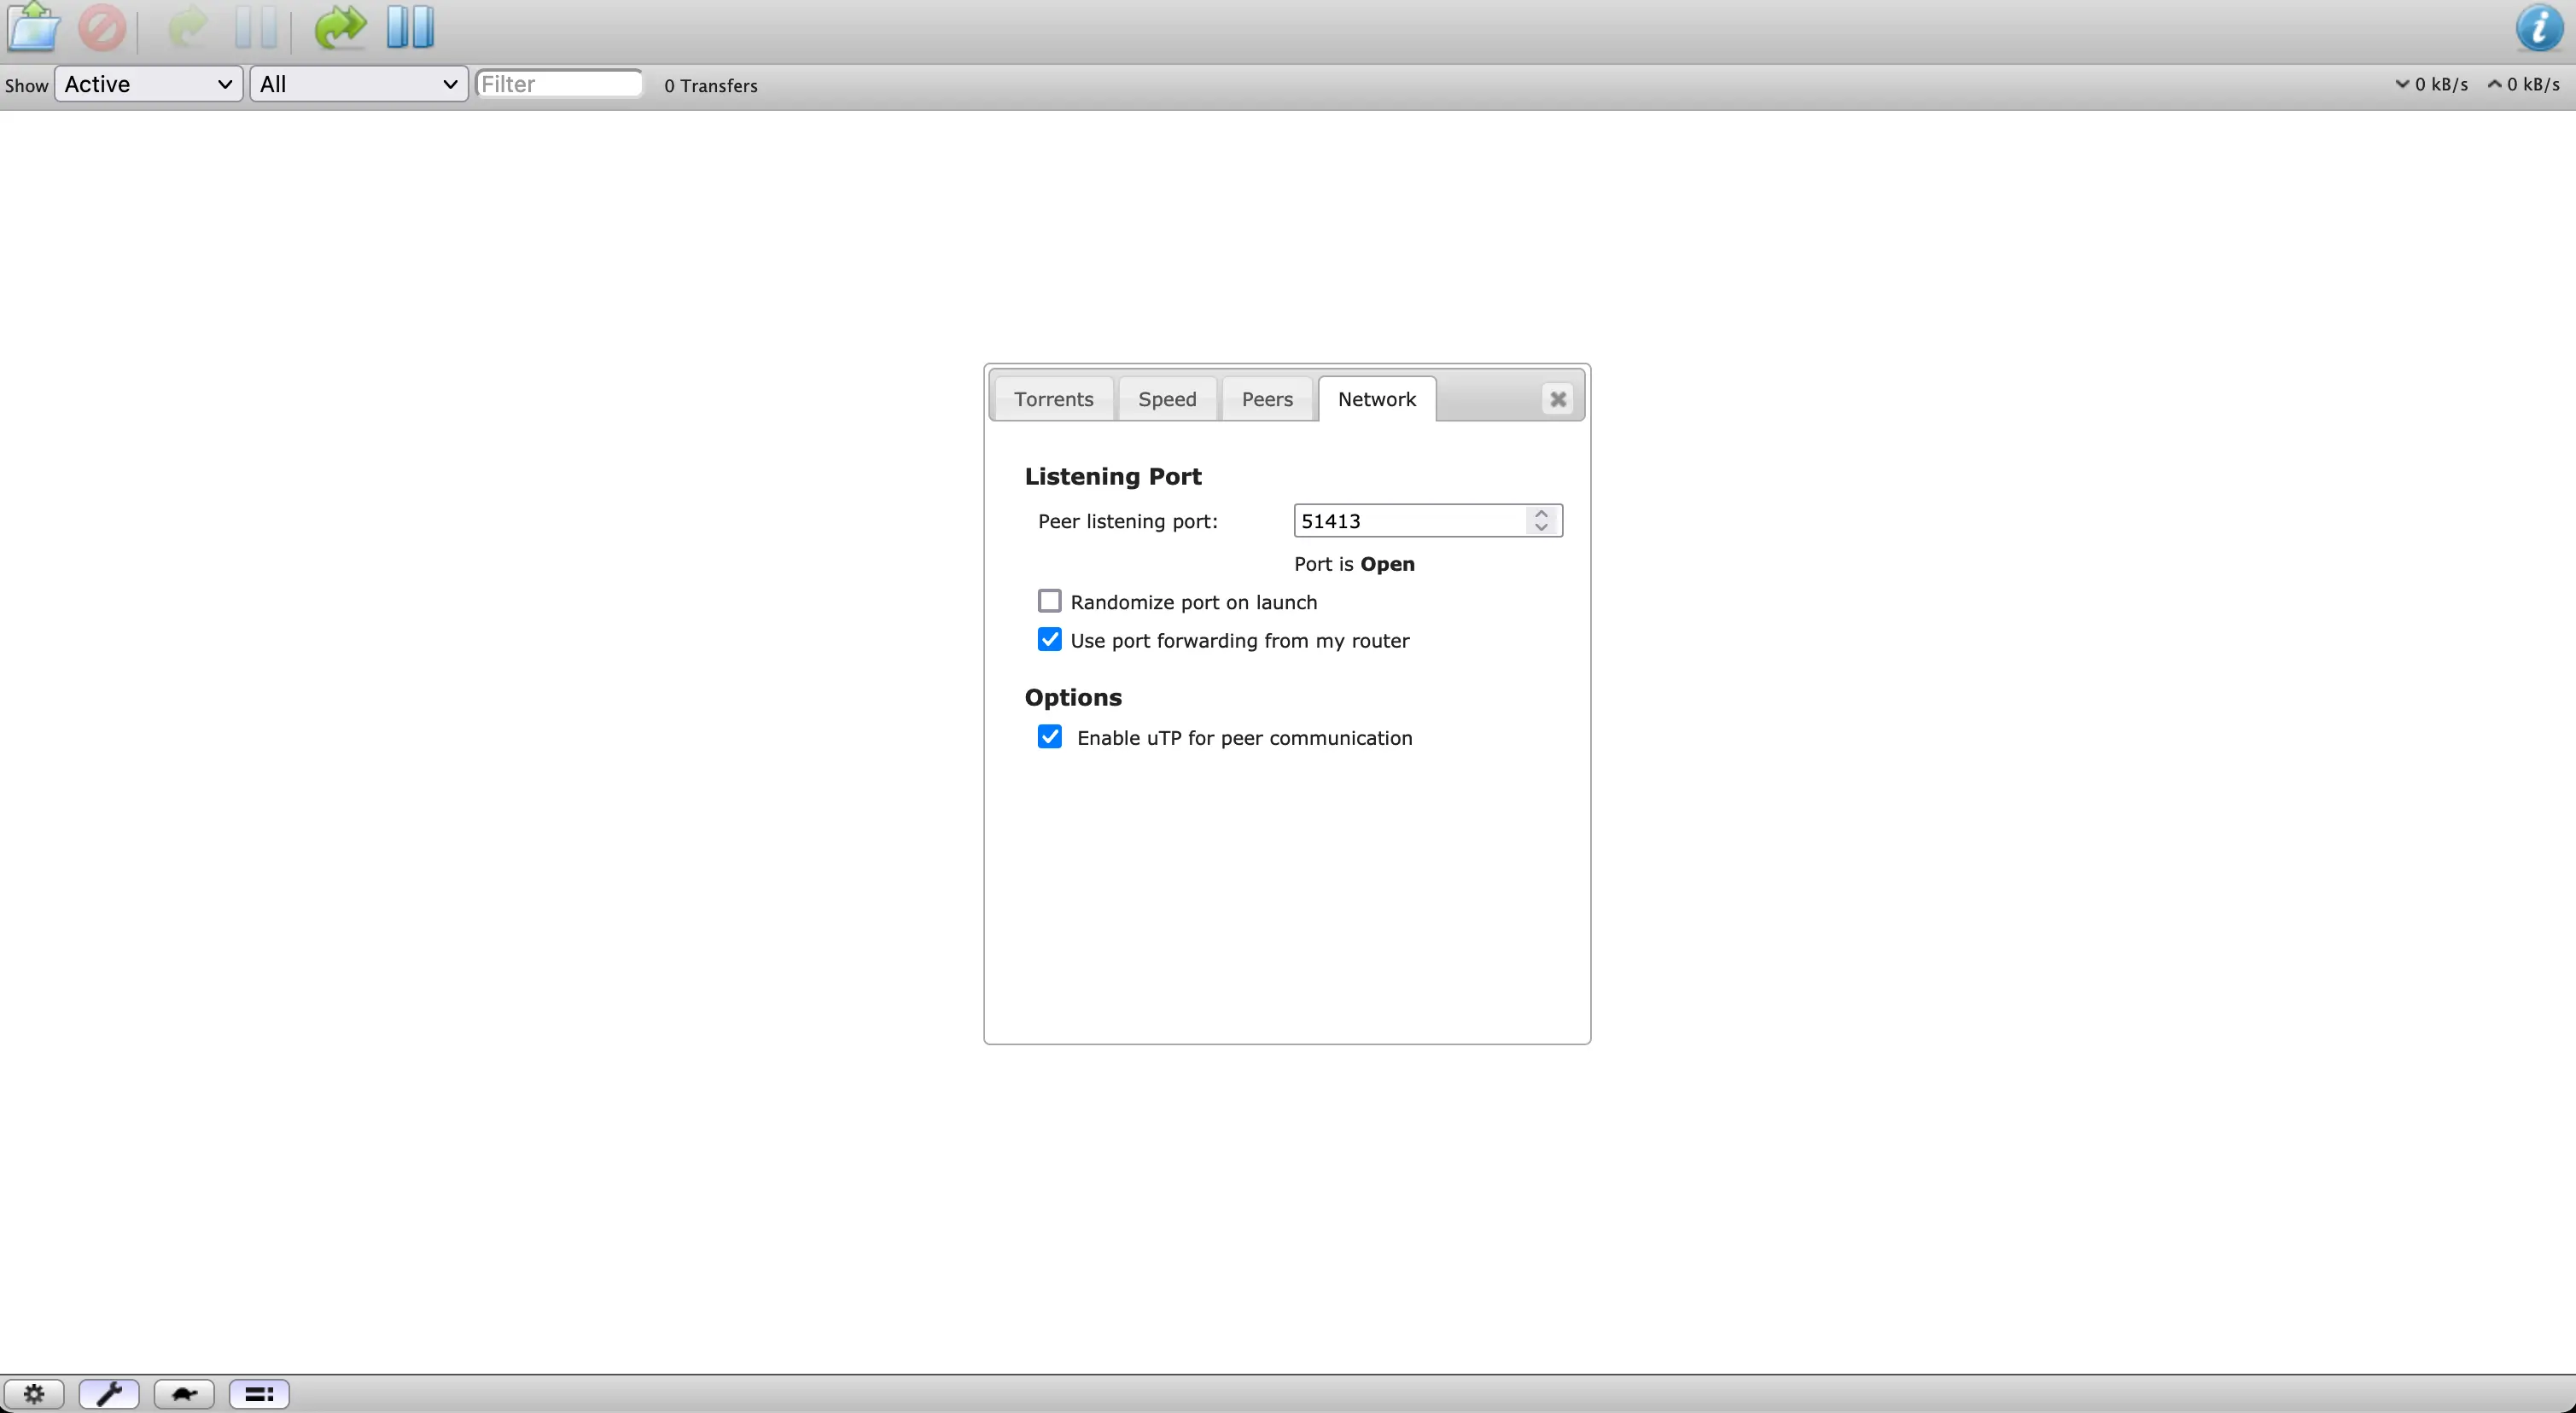
We should now also check if the port is correctly open. Transmission has a build in check for this. You can open this up, by click the wrench in the bottomleft corner. In the window that opens, click on network. Make sure that the port that you have filled in, is the same as in your Docker Compose file. If you have set up everything correctly, you should see something like the following:
You can now start downloading your first torrent. Let’s download Raspbian for example. You can download the torrent. Go to the Transmission Web GUI, click on the open icon in the top left corner. A window should open where you can select the torrent and your download location. Open your just downloaded torrent. The download location should be the download location you have set up in the Docker Compose file. Add the torrent and see it go!
You can easily update the container to the newest release by issueing the following commands in the same folder as where the Docker Compose file is located:
$ docker-compose down
$ docker-compose up -d --remove-orphans
This will first stop the container from running and then start it back up again, while deleting orphaned images; images that are not connected to anything anymore.
That’s it! :)
In this guide you have installed and configured Transmission in such a way, that it is easy to move, reinstall and update the containers. You can now download to one or more folders on a centralized server.
I hope you will find this guide useful. Check out the Github repository for the Docker compose file and if you have any questions or suggestions, feel free to leave a comment below.