
Manage Docker Containers with Portainer
Managing your docker containers can be quite a hassle. Creating, updating and monitoring in the terminal is not very intuitive and the lack of visualization makes it very difficult to see what is going on. Fortunately there is a solution and it’s called Portainer. It’s a docker management interface where you can perform a lot of common tasks very easily from the comfort of your browser. Let’s install Portainer!
For those who have read my other blogposts: I love Docker Compose: it’s easy to read and because it’s just a file, it is also very easy to move to another server and get up and running in no time. For that reason: I’m going to install Portainer Community Edition with Docker Compose. Let’s get started!
We first need to have a folder to store our data files. This can be anything, but I have all my data files for docker containers stored under /volume1/docker/config which is automatically backed up to another server and hard drive. Let’s make a new folder called Portainer here.
Let’s make a docker-compose.yml file for our docker comtainer. It does not matter where this file is stored, but you should probably keep it organized. We are using the latest community edition of Portainer, which is at the time of writing version 2.11.0, but you should use the latest version as shown on this page. That said, the rest should be as following:
|
|
There are a few things that are unusual in this Docker Compose file. First up: it has the docker socket as a volume. Portainer needs this, so it can read and control Docker. Although we need it for Portainer to work properly, it can also be a potential attack vector. It basically gives Portainer root access and control over all the Docker containers running on your system. Because the application is open-source and many people use Portainer, I trust this application with that access.
The second thing, not seen before on this blog, is the healthcheck. This does a simple request to the homepage of Portainer and check to see if it’s available. The healthcheck is useful to see if container is running correctly. There is more stuff you can do with this, but that’s a story for another day :)
The healthcheck is not perfect. It only checks if the frontpage of Portainer returns a valid response, but we are not really checking if Portainer itself is running correctly. It is better then nothing, but keep in mind that the container could be not healthy, while Docker thinks it’s healthy.
Now that the docker-compose.yml file is in place, you can start our container with docker-compose up -d.
After it’s started up, you can go to your browser and type in the address of the machine it runs on with port 9443, in this example it’s localhost: https://localhost:9443. Your browser will probably warn you that the certificate is unsafe, because it is self-signed, but we can trust it.
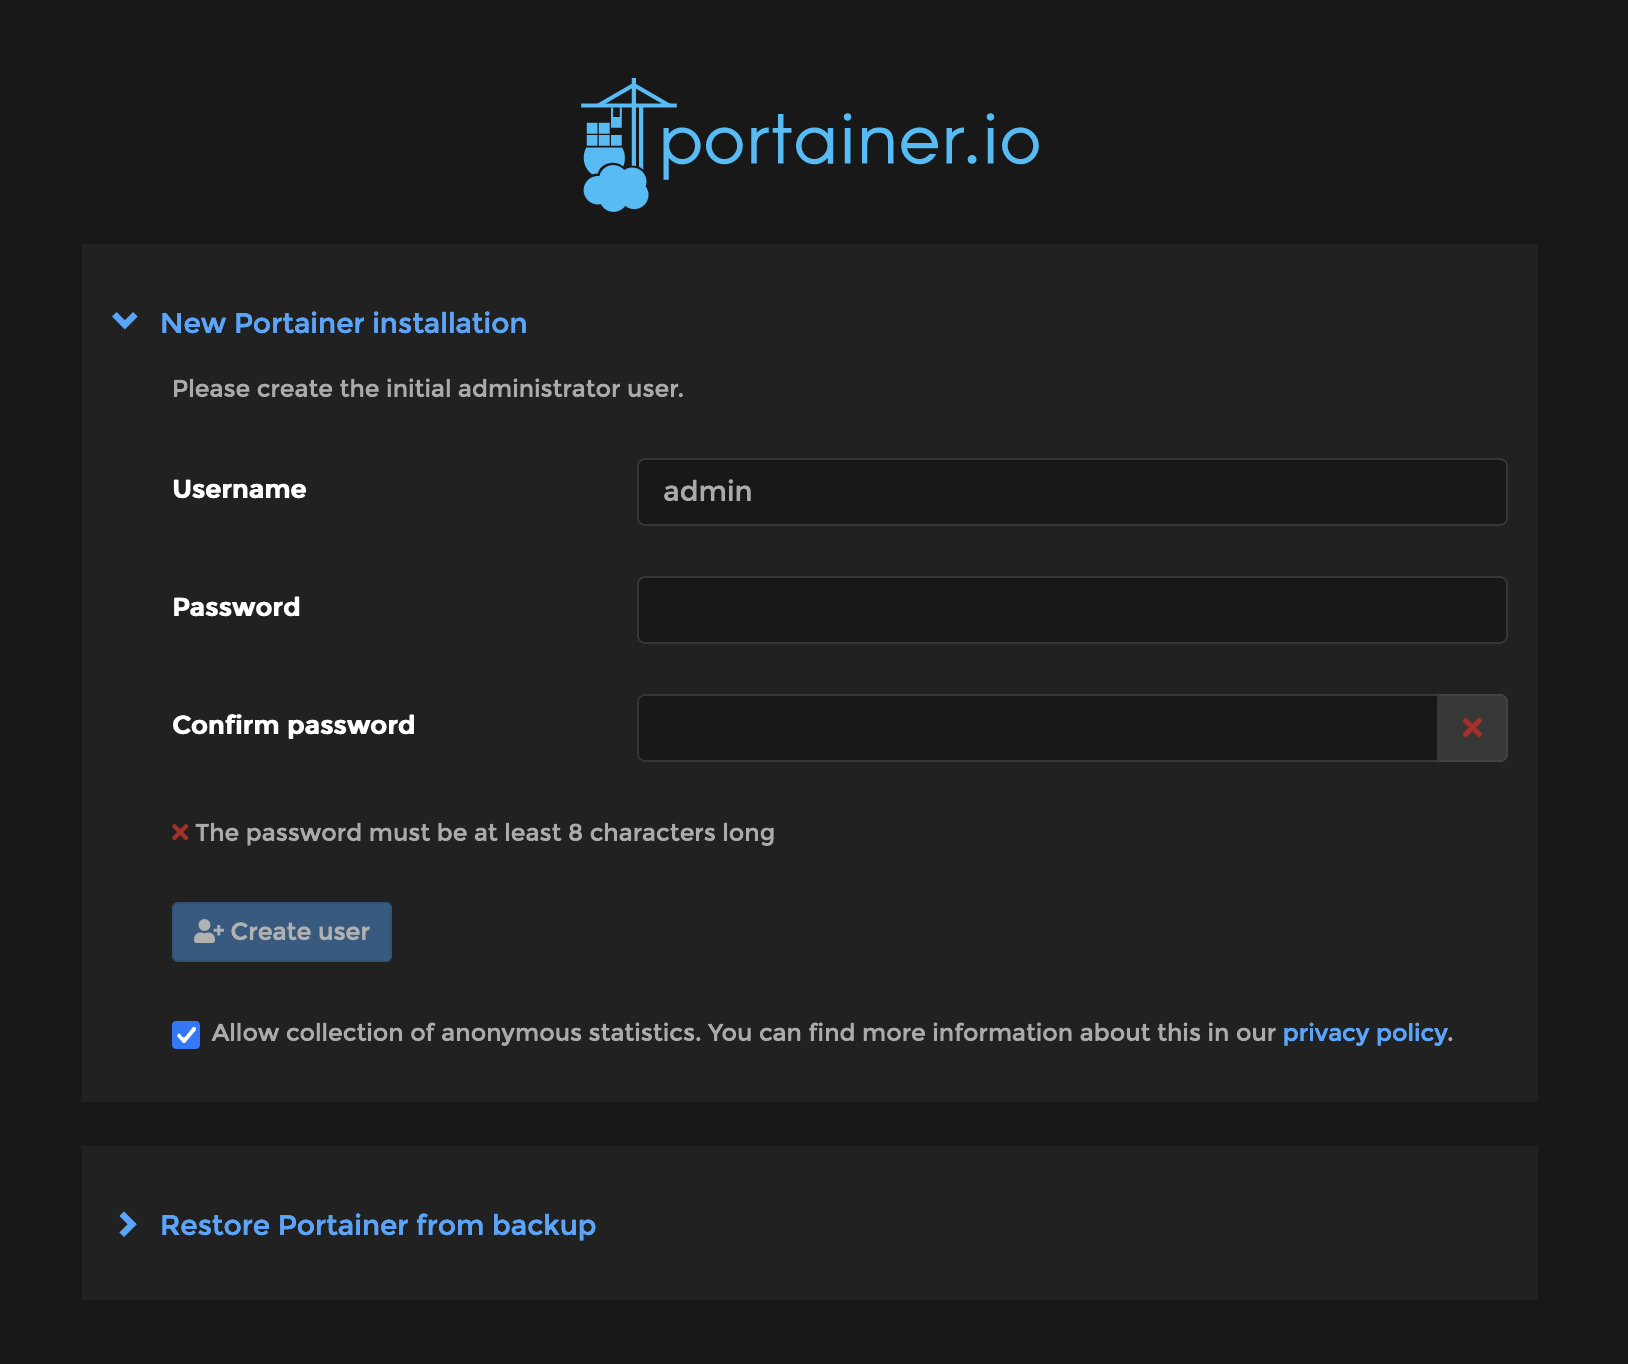
You will be prompted by Portainer to setup an admin account. Fill in the form with a username and password. I recommend a strong randomized password and a username that is not admin.
And that’s it, all the setup is now done!
Portainer has a lot of interesting features and I highly encourage you to explore them yourself, but I will highlight some of my favorite features below.
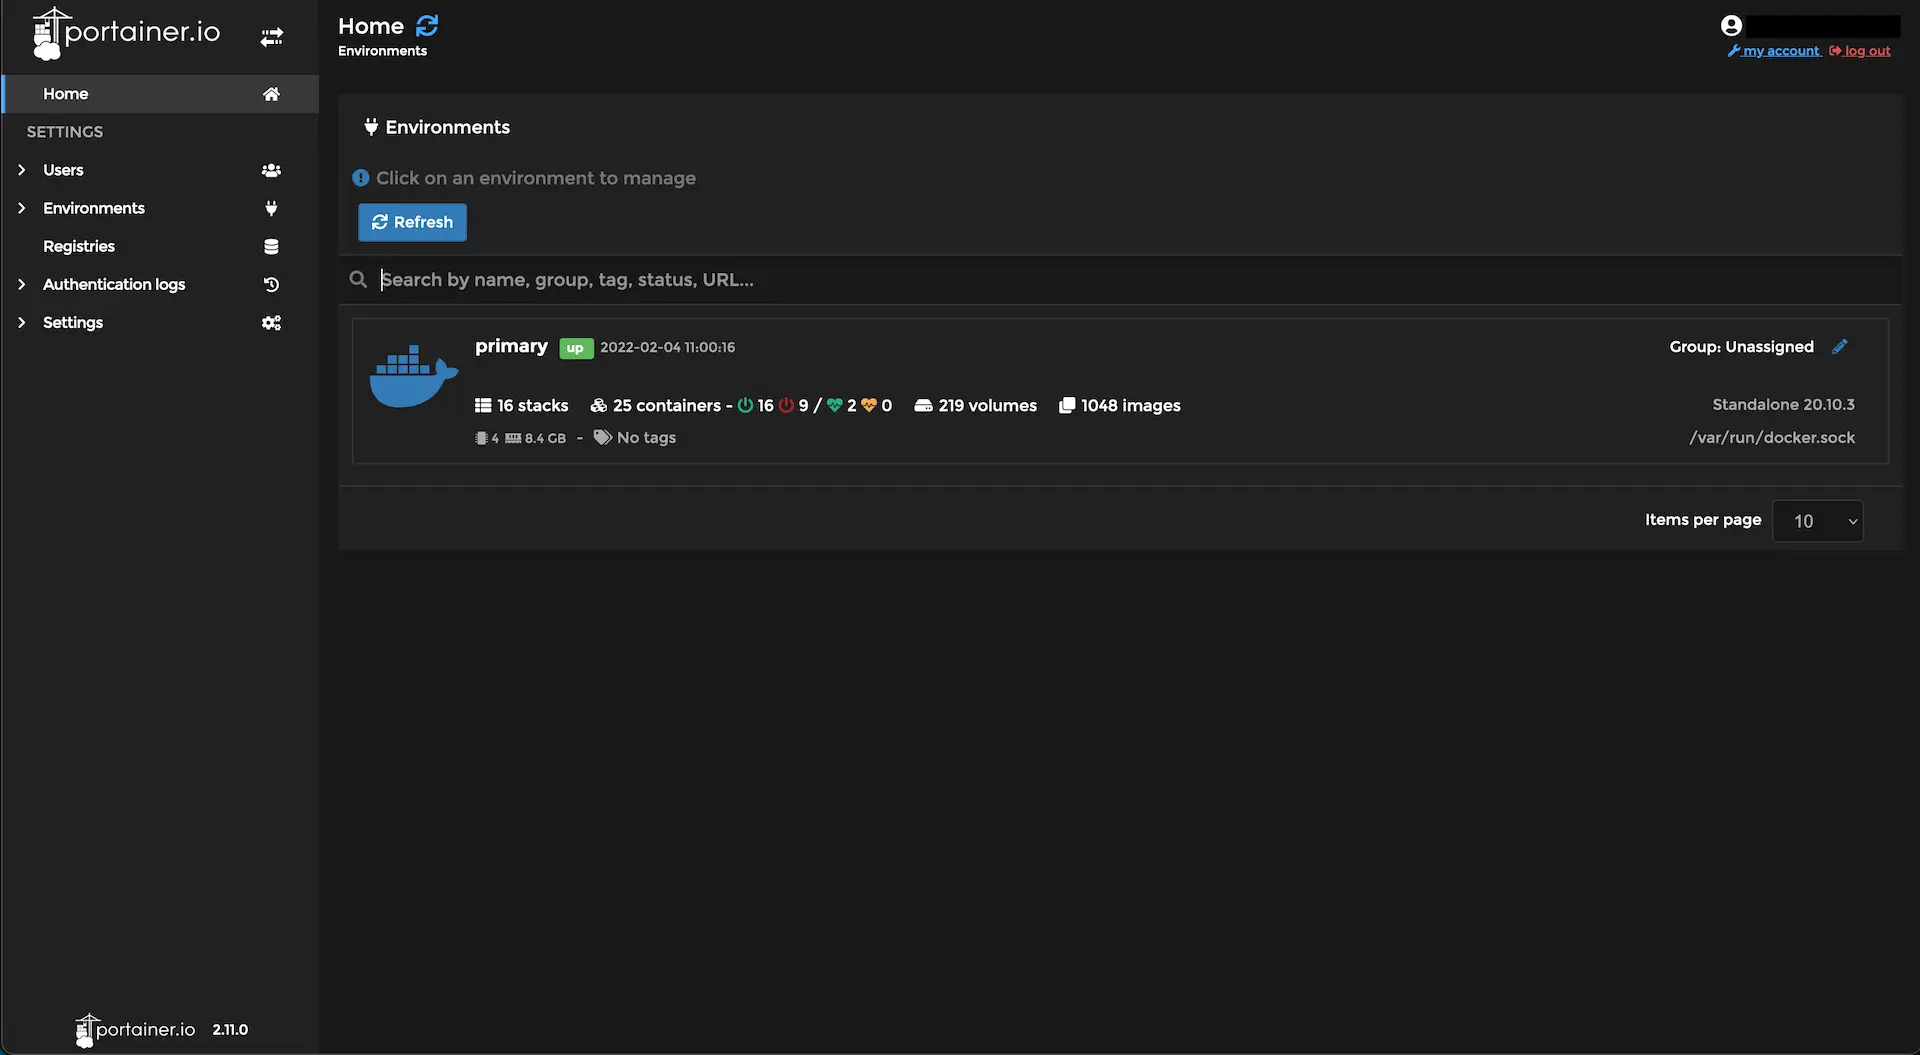
One of the most useful feature from Portainer for me is that it is very easy to see in a glance how all your containers are functioning.
The health check we implemented earlier comes in handy here: not only do we know if it’s running, we are also fairly certain that it running properly.
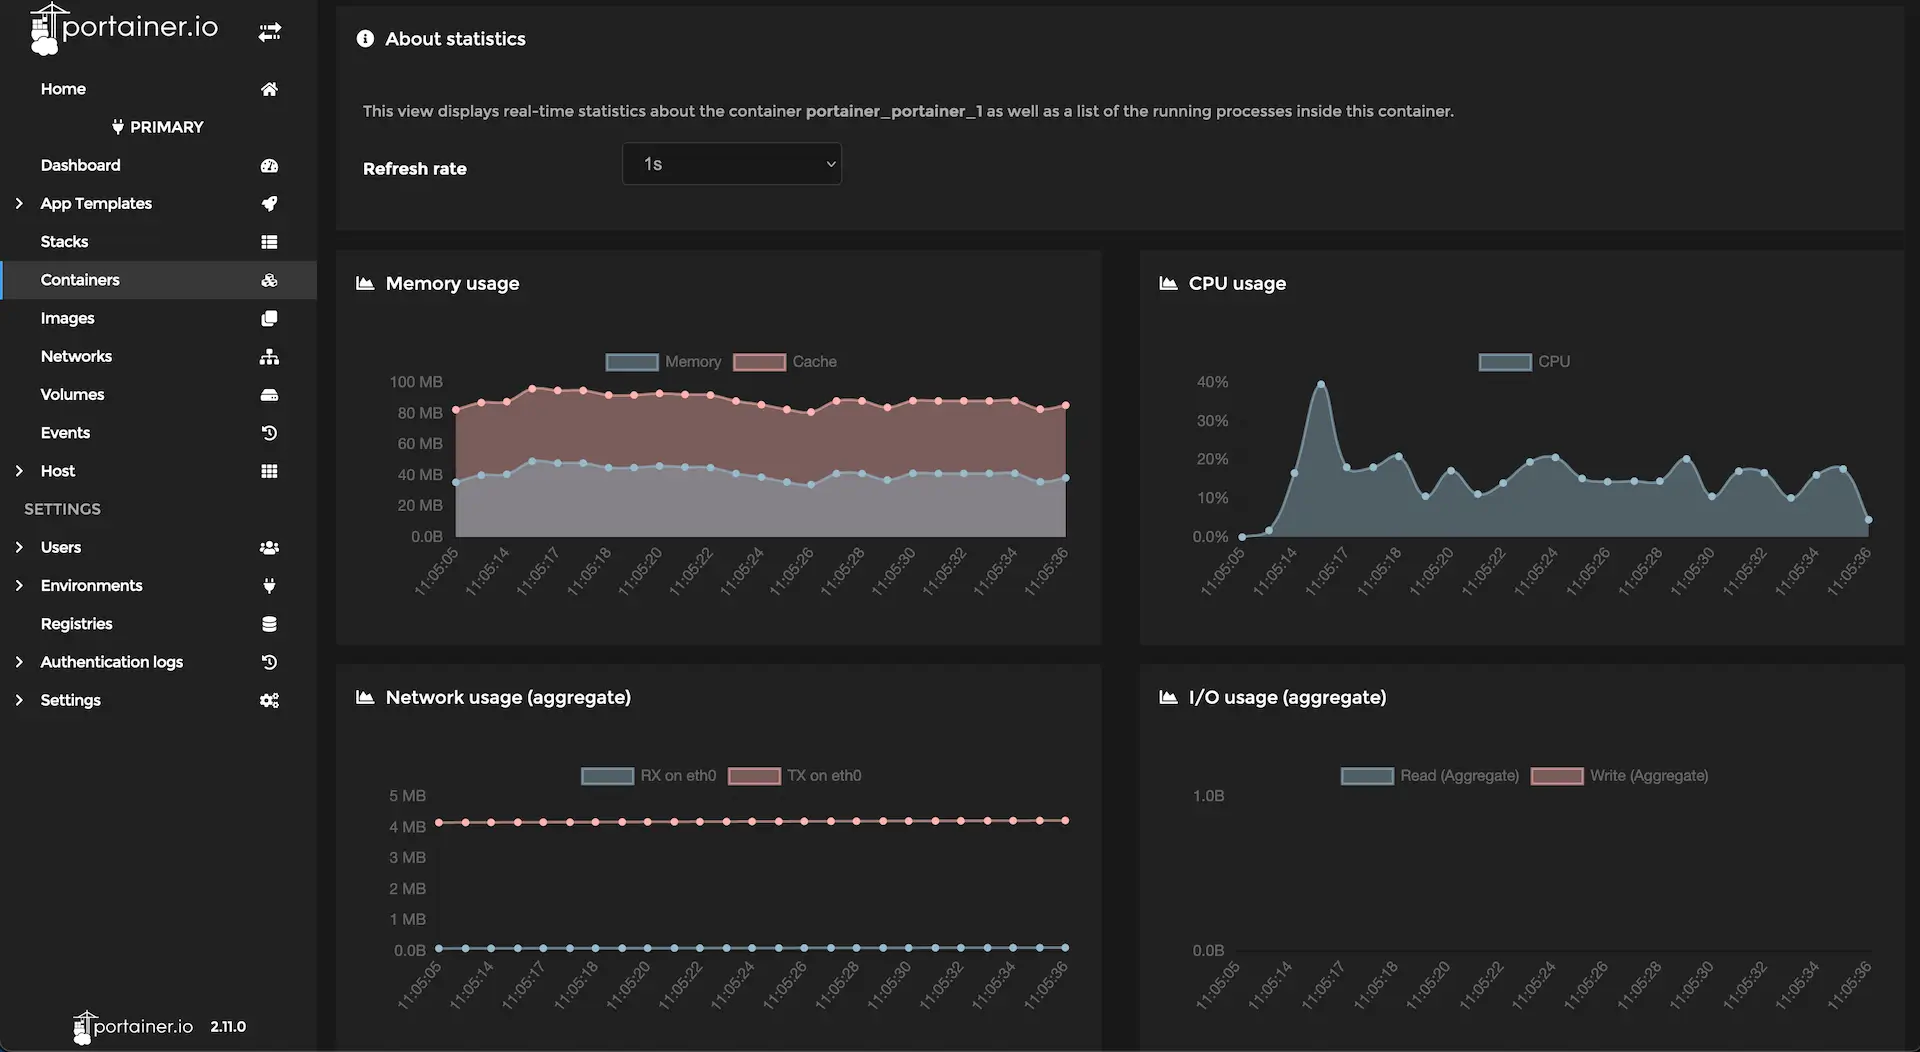
Another useful feature is to check the CPU, network, disk and RAM usage of a container. This could be useful to see what containers are misbehaving, or use a little more resources then you would expect. It can also be useful to determine what kind of server you need. Perhaps you’ve overgrown your Raspberry Pi and need something a little more powerful? Whatever the case may be, Portainer has you covered in the statictic department.
You can find the statistics when you select your container in the container list screen. You will then be greeted with a screen with all kind of information about your container. For example my Portainer container information page looks like this:
Under Container status you will find the Stats button. Click that and you will be greeted with some nice looking graphs. Pretty handy!
Always wondered why Docker uses so much hard drive space? It’s because old images are not automatically cleaned. You could remove these unused images from the Portainer interface. It’s not the most friendly option, but it’s nice that it’s there for those moments where you don’t want to login to your server with SSH.
There are more features to explore in Portainer, like deploying new stacks, using templates for some often used service and more, but that’s it for me now. I use Portainer mainly as a maintenance and monitoring tool and not so much for deploying. I like to keep that into my own hands, so I can easily move to other servers If I ever have to. I don’t want to be reliant on Portainer for that usecase, but for a beginner selfhoster it can be very useful.
That about wraps it up. What are your favorite features? Let me know in the comments below!