Your New Startpage with the Heimdall Dashboard
When you start out selfhosting, you might have one or two services running. But before you know it, you end up with 10, 15 or maybe even more different services. But how do you remember all the different services? And how to access them easily?
Meet Heimdall: your new startpage for all your selfhosted apps. Heimdall is a dashboard where you can add links to your services. They are beautiful represented with icons and additional information like download speeds or running status, depending on the application.
What really sets it apart from other similar applications, is in it’s simplicity. There are just a few options and you are ready to go. To demonstrate that, I’m going to set Heimdall up in this blogpost. We will be using the docker image from linuxserver.io. Let’s get started!
First, we need to make a folder to store our configuration files. I’m going to save it in volume1/docker/config/Heimdall, but choose any folder you like. We also need to have the user id and group id. This ensures that the file permissions will be correct. You can determine this using the following command:
$ id $user
uid=1024(admin) gid=100(users) groups=100(users),101(administrators),65537(docker)
We need the uid and the gid, which are 1024 and 100 in this example. We are now ready to make a Docker Compose file.
Below you can find an example docker-compose.yml file. I have added a healthcheck, so ee can scan the status of the container very easily in Portainer. Since port 80 was already occupied by my reverse proxy, I’ve chosen to open up port 8090 in this example. The end result is this Docker Compose file:
|
|
We can now run Heimdall with one simple command: docker-compose up -d.
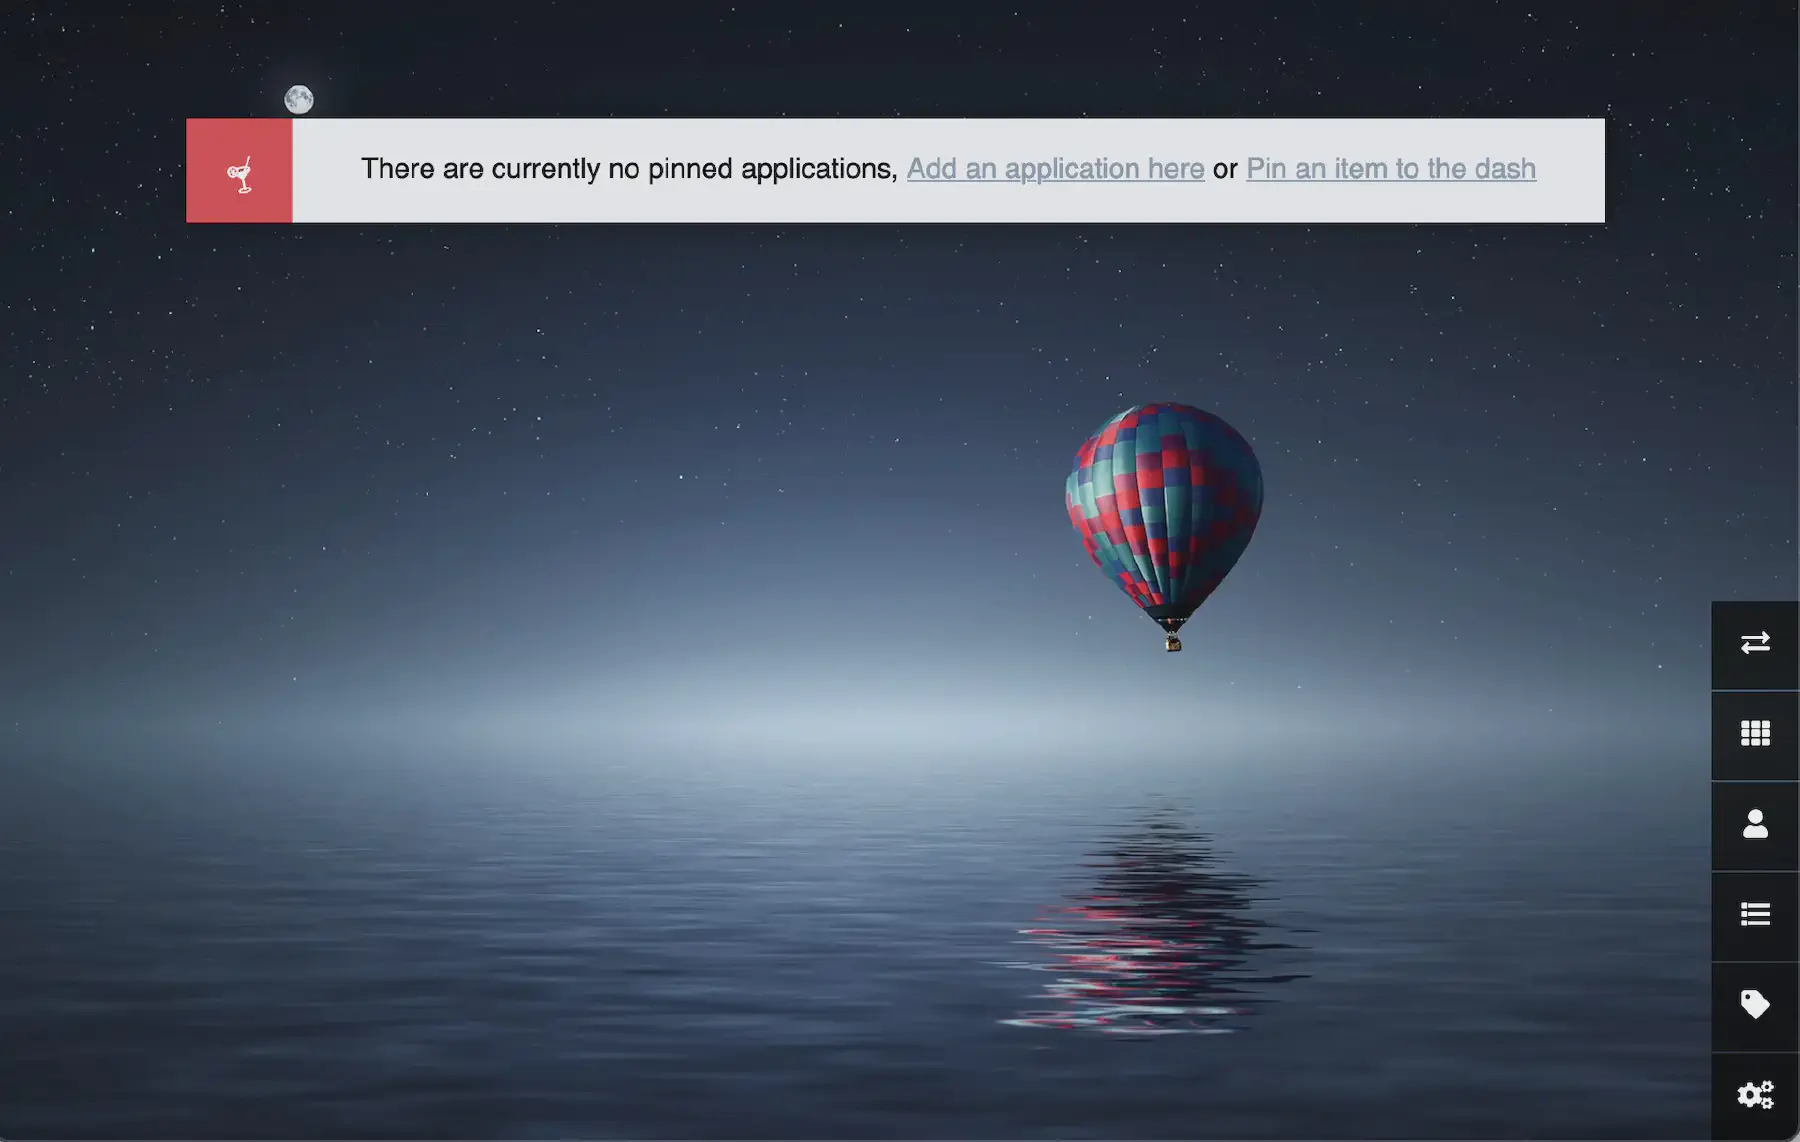
After the container is fully setup and running, we can open Heimdall up in the browser by going to http://ip-address-of-your-machine:8090. We are greeted with a friendly wallpaper and a message saying that there are no applications yet.
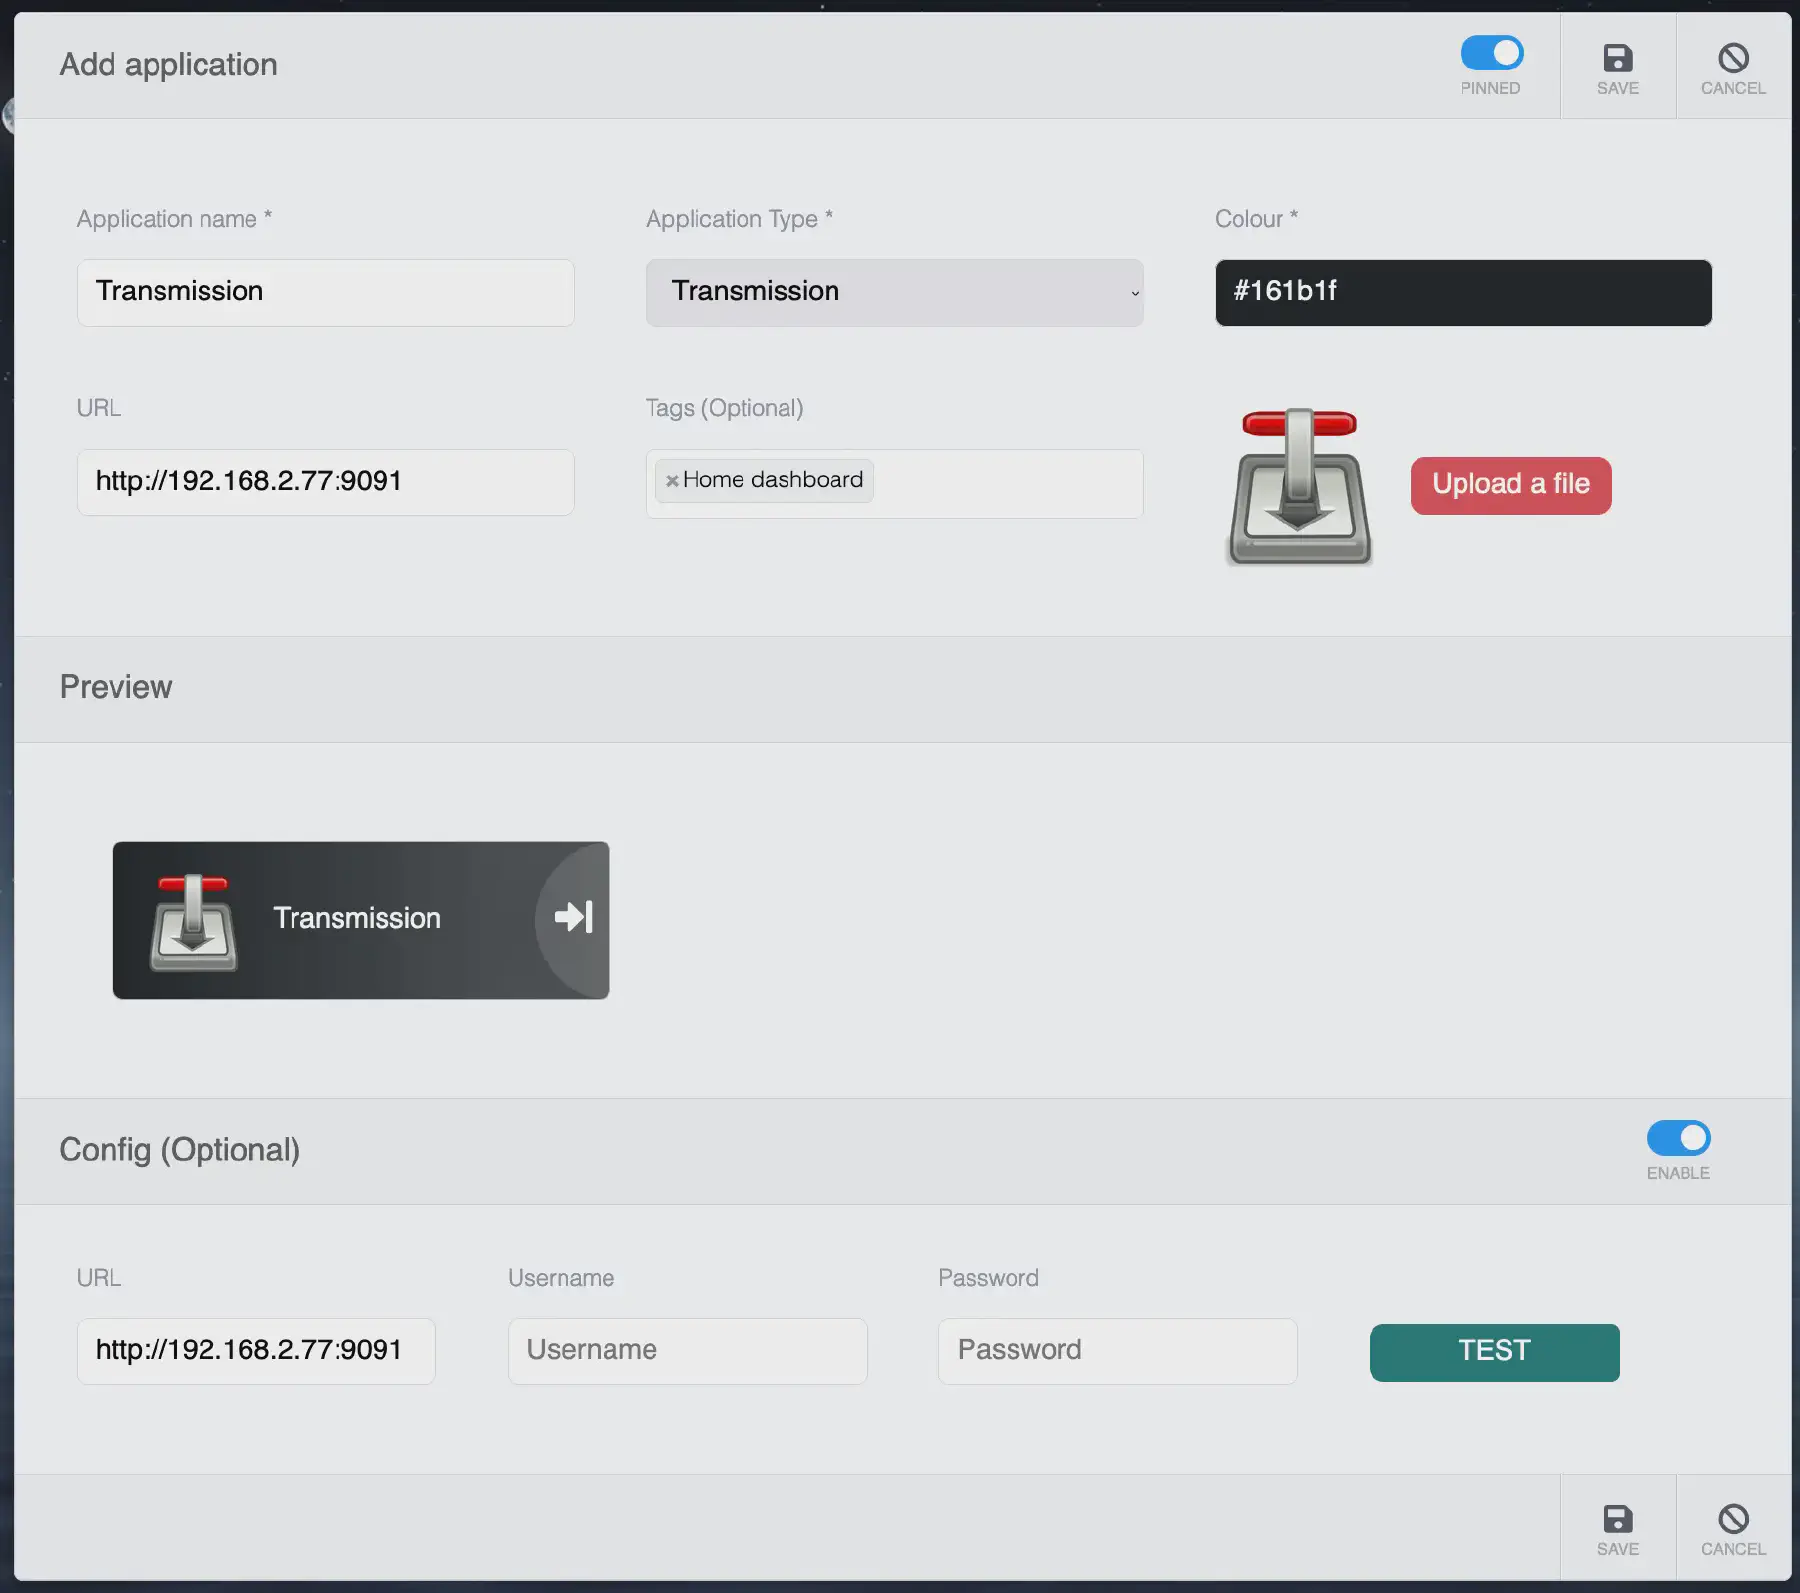
Let’s add our first application, Transmission. Click on Add an applicatino here. A window will open where we can fill in our information. Start by typing in the name of the application. In the case of Transmission, it will already know the application and auto-fill most of the information.
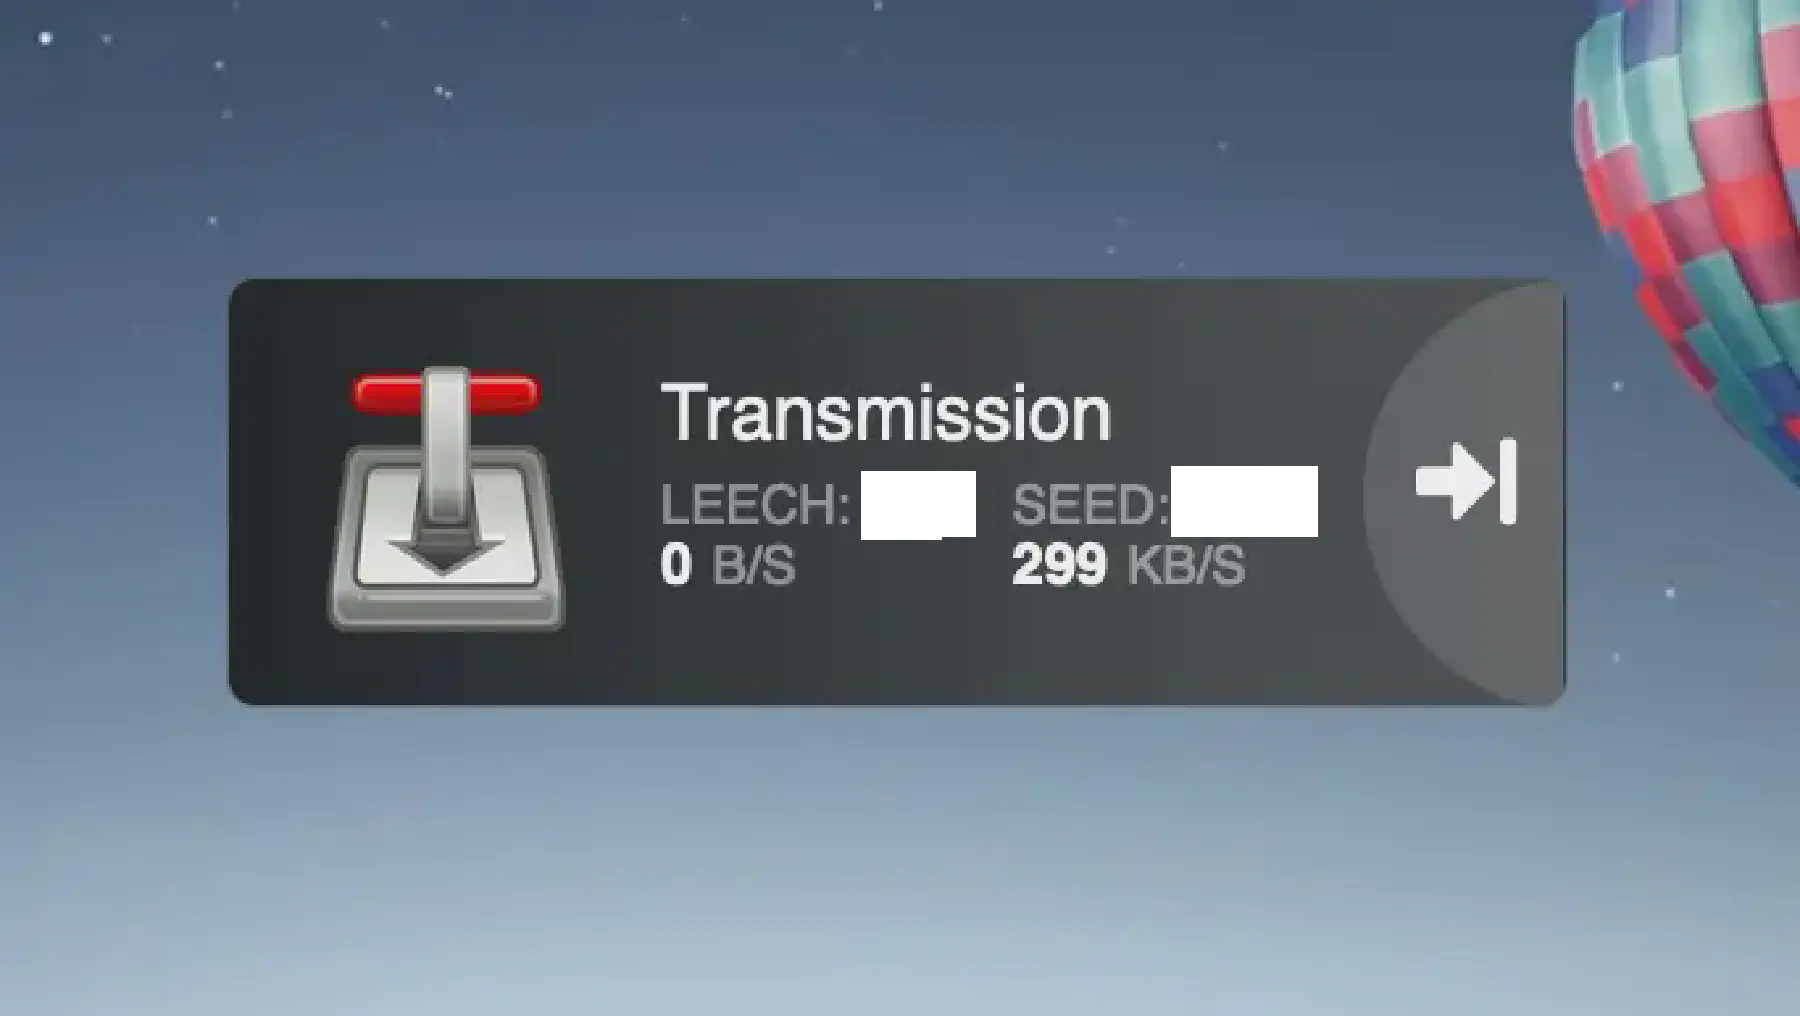
Fill in the URL and turn on the config slider to get more information on your Heimdall dashboard. Click save and would you look at that:
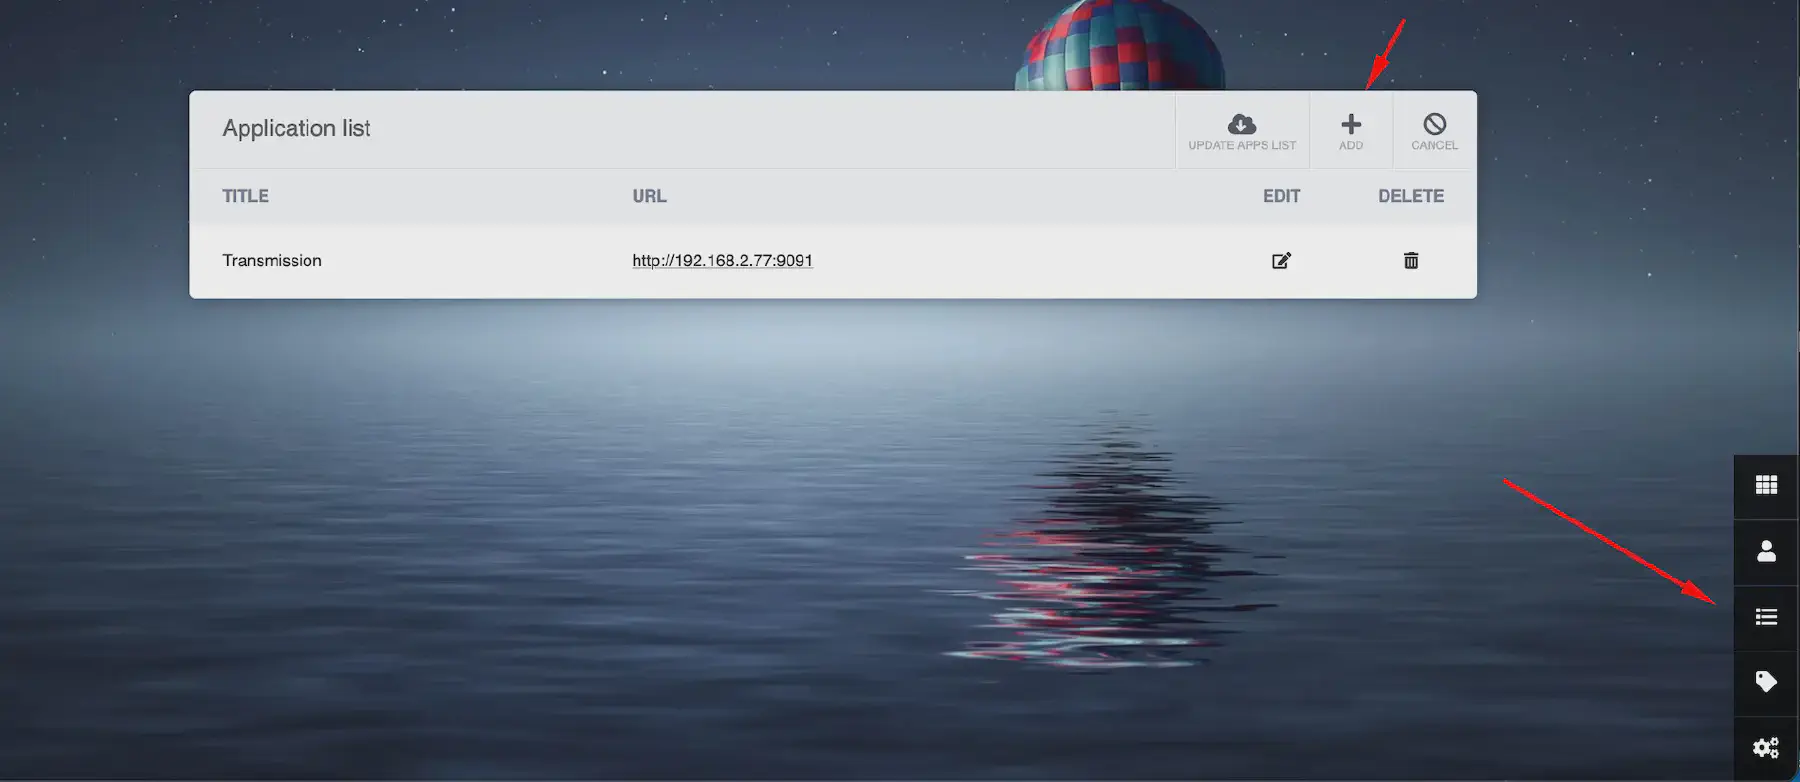
Your very first application in Heimdall! We can add even more applications now. You can do this by clicking on the list icon in the bottomright corner and click the add button. You will be greeted with the same window as before.
I want to replace my current homepage (which is the default Firefox homepage) with Heimdall. I use the search bar a lot on that page, so I want that in Heimdall as well. You can go the the settings page in Heimdall and add the search bar and select your default search engine.
And that’s it! We have succesfully set up Heimdall. I’ve already set it to my homepage in Firefox :)
Some of you might have noticed that Heimdall seems to be abandoned some time ago; at the time of writing the last commit is more then a year ago, which is quite a long time. I therefore wouldn’t recommend to open up Heimdall to the outside world.
If you do, make sure to set a strong, unique password, get a certificate and maybe add a login layer in your reverse proxy.
I would love to see your dashboards in the comments below. If you have another nice dashboard program, let me know, I always like to try out new applications :)


